Speed up your GigaBook workflows with Zapier’s automated connections
GigaBook, as a cloud-based appointment booking platform, is a great help for small and medium-sized business in making appointments from its website. As a business owner and GigaBook account holder, you already know how this platform is of tremendous help in maximizing the efficiency in your businesses. But don’t you wish you can optimize GigaBook much further, such as speeding up your workflows? Yes, you can with the use of Zapier!
Zapier is an online automation tool that integrates your GigaBook account to more than 1,000 apps such as Zendesk, Gmail, MailChimp, Google Contacts, or GitHub just to name a few.
Zapier connects GigaBook to apps that you use every day to automate tasks to save time. This allows you to boost your business’s productivity so you can focus more on other important work. To avail Zapier’s many benefits, sign up for a free Zapier account and follow the steps to set up your account.
Integrating your Zapier account with your GigaBook account
Once your Zapier account is set up, you can integrate it with GigaBook through these easy steps:
- Make sure you are logged in to your Zapier and GigaBook accounts.
- Navigate to the Connected Accounts at the top menu bar of your Zapier account.
- Click Connect New Account and search for GigaBook.
- Enter your Zapier user name and password to connect your Zapier with GigaBook.
You’re done! Your Zapier and GigaBook are now synchronized with each other. You can start connecting your GigaBook account to hundreds of apps through Zapier. And making automated connections is easy with Zap – the automated workflow between your apps that does repetitive tasks for you. There are two ways to create a Zap: you can use a pre-build Zap or create your own Zap from scratch.
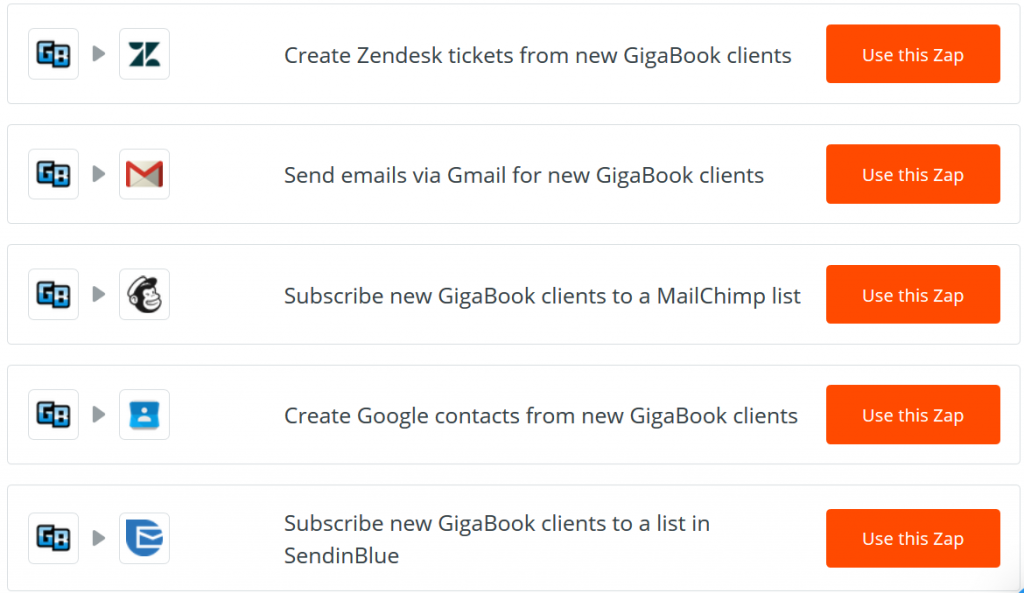
An example of a Zap is when you connect your GigaBook to your Gmail, with as much as five possible integrations. The integration automatically sends a customized Gmail email each time a new GigaBook client is received by Zapier. The customized email could be a personalized client confirmation email, or an email alerting your staff members of a new client
Other features of the Zap workflow:
- Trigger – The event in an app that starts the Zap. Once you set up a Zap, Zapier will monitor the app for that event.
- Action – The event that completes the Zap.
- Each piece of data you run through your Zap counts as a Task. Every task your Zap performs is another task that you don’t have to do manually.
The following is an example of the basic workflow of a Zap:

Maximize your GigaBook’s productivity with Multi-Step Zaps
Once you have your Zap set up, you can further optimize the automation of your tasks with the Multi-Step Zaps. The Multi-Step Zaps lets you automate multiple tasks with a single trigger. You can add more Actions into a Zap so that several tasks within a single Zap are automated.
For example, you have set up a Zap that notifies (the Trigger) you of the daily weather forecast via SMS (that’s one step or Action). You can add several steps or Actions to that Zap that notifies your staff members with a Gmail message about the weather forecast. This Zap now has multiple Actions which are all based on that same Trigger. The more Actions you add to a Zap, the more manual work is taken off your workload and saves you more time.
To add additional steps to a Zap, do the following steps:
1. Click on the Zap you want to change on your “My Zaps” dashboard.
2. In the left panel, click the gray plus (+) sign button where you want to add the new step. Take note that when the Zap runs, it will go through each step shown on the left-hand menu in order, from top to bottom.

3. Select and enter the name of the app that you want to connect with your Zap.
4. Connect your app account to the Zap.
5. Customize how the data will be sent from your Trigger step to your new Action step using fields from either or all of the previous steps.

6. Click the “YOUR ZAP IS ON/OFF” button to “On” to test your Zap. Toggle the On/Off button on the right side of your dashboard to “On.”
As you’ve seen, it only takes six simple steps to create your Multi-Step Zap which takes care of your multiple tasks at once, in a single task!


